If I had to eat one meal for all of eternity, over and over again, for me it would undoubtedly be pasta—especially spaghetti, well and fettuccini, and ravioli…oh, and lasagna, and angel hair, and pappardelle, and penne…and….well, you get the idea! I had never made my own pasta before. Wanting to stretch my culinary skills in new directions, I took the plunge and bought a pasta rolling machine, and away I went. I can’t believe how easy it is to make, and how delicious it can be fresh. Let me show you how much fun this can be!
Fresh Pasta
—3 1/2 cups of Flour
—5 Eggs
—1/4 cup Olive Oil
—1/8 to 1/4 cup of Water
Mound the flour on the sides of a large bowl, creating an interior bowl of flour in the middle. Crack the five whole eggs into the interior bowl of flour, like a bird’s nest. Pour the olive oil onto the eggs. Using a fork, proceed to beat the five eggs and olive oil, and as you do so, progressively beat in more and more of the flour.
When you either have all of the flour incorporated into the liquid, or when it is too thick to mix with the fork, stop beating. You will have to start kneading the flour by hand to get all of the flour into the mixture. If the mixture is too dense, try adding up to 1/8 a cup of water to it, and see if it holds together.
Remove all of the dough and excess flour from the bowl, and place onto your kitchen counter or a large cutting board. Whichever surface you decide upon, first dust it with more flour. Begin kneading the dough. You need to really press down on it with your weight. Fold it over, and do it again. If it feels too wet, add more flour. If it seems too dry, add a little more water, and continue kneading.
The ideal pasta dough should be kneaded to the point where it no longer sticks to the counter top or the cutting board, or your hands for that matter. Knead the dough at least 10 minutes until it has a uniform consistency, and becomes elastic. By elastic, I mean that it should get to the point where if you squeeze it with your hands, it springs back part of the way towards you.
NOTE: The kneading process sounds tedious, but since this is a rock & roll collection of recipes, put on one of your favorite upbeat albums, and knead to the music! The ten minutes will pass in no time!
As you go through this process, you are going to feel the dough changing from a dull ball of flour, into a springy pasta dough. When it is very elastic, roll the dough into an evenly proportioned log shape, and with a knife, cut the dough into four pieces. Take each of the pieces, and wrap them in plastic wrap, and place them in the refrigerator for 20 minutes.
After the dough has sat and cooled off for 20 minutes, remove it from the refrigerator and unwrap one of the quarters of dough. This is the ideal size to work with.
If the dough is at its perfect state of elasticity, it should not stick to either your hands or the counter. Powder it with a little bit of extra flour, and by hand, flatten it out into a pancake shape, no wider than your pasta maker machine.
There should be 10 markings or width settings on your pasta machine, Zero to Nine. Set the rollers at “Zero” (0) and while you crank with one hand (unless electric), feed the flattened pasta dough into the rollers. When it is flattened out, fold it in half, and repeat the process. Repeat this five or six times to thoroughly process the dough into a sheet of pasta. Add more flour to it if you need to.
If you are making fettuccini, the thickness that you will ultimately want will be the setting of “Five” (5). Gradually moving the lever from Zero to Five, one number at a time, each time rolling the dough through the machine until it is flattened one number at a time to number “Five” (0). At a certain point, you will want to cut your dough in half of its length for easier handling.
Striving to obtain nice flat ends, you can make any necessary end-cutting or reshaping along the way. Eventually you will have four separate pieces of flattened dough, at the Number Five thickness.
If you are making tagliolini, which are thinner noodles, you need to keep going to number “Seven” (7) on the adjustment scale. Every pasta maker has cutting attachments, and each attachment can require specific adjustments.
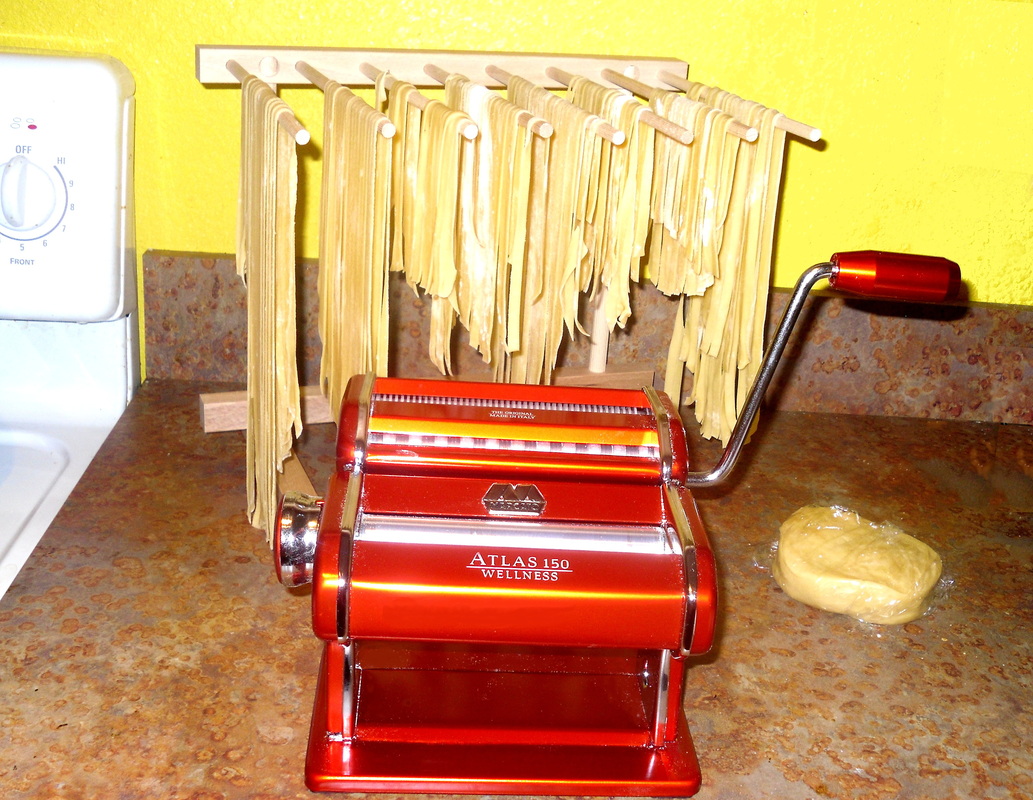
Now you are ready to readjust the handle (if a manual pasta machine), and run each of the four pieces of dough through the cutting blades, to form fettuccini. Before all of your dough has been cut, using a butter knife, or a chop stick, neatly lift the finished Fettuccini and carefully place it on wooded or metal drying rods, or metal baker’s drying platforms.
NOTE: When you buy your Pasta Making Machine, chances are that the same store will sell some sort of wooden or metal pasta drying device. They are well worth the money to have in this instance. If you are going to dive into this project and buy a pasta maker, go for the pasta drying rack too, and do it right!
You can do all four of your batches of pasta, one after another, or pause in between batches. The four batches will yield approximately 1 1/2 pounds of uncooked pasta, about enough for six people.
Allow the pasta to dry for one hour before cooking it. To cook it, carefully place it in a pot of rapidly boiling water. Fresh pasta should only take 3 to 4 minutes to boil, and it should be perfectly done.
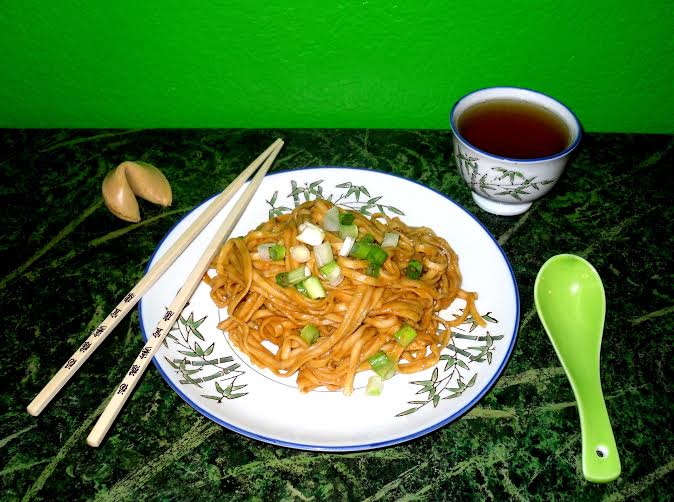
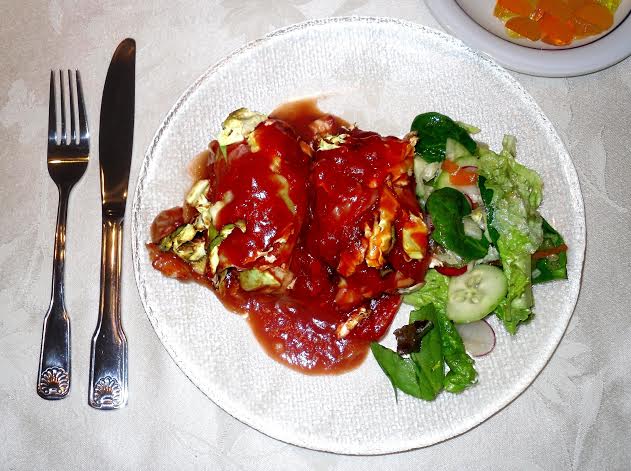
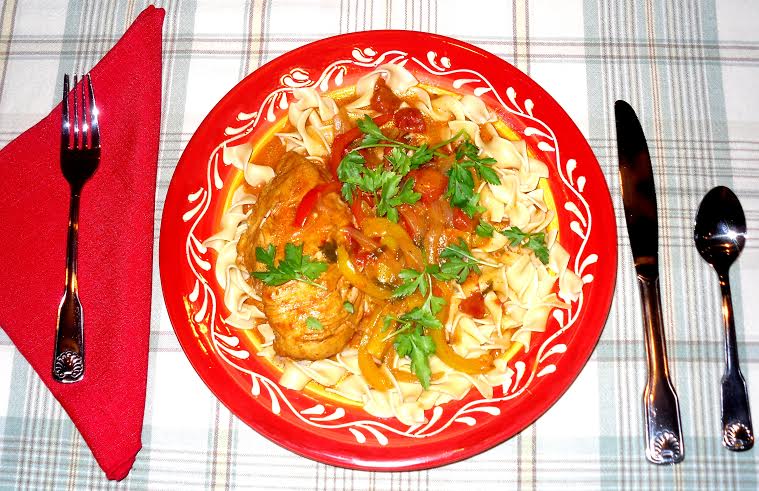
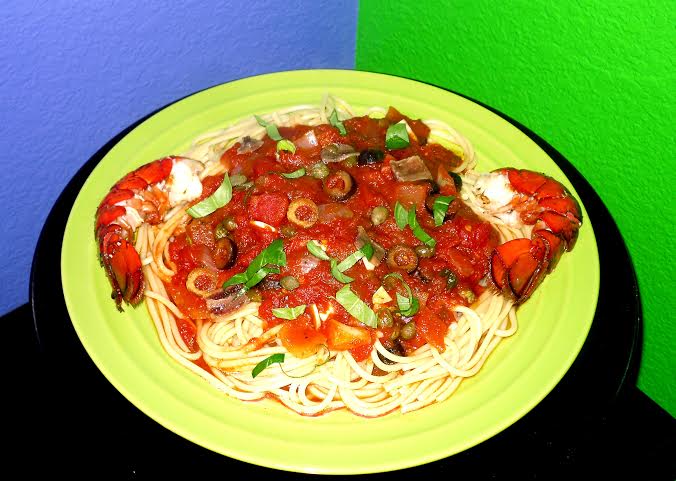
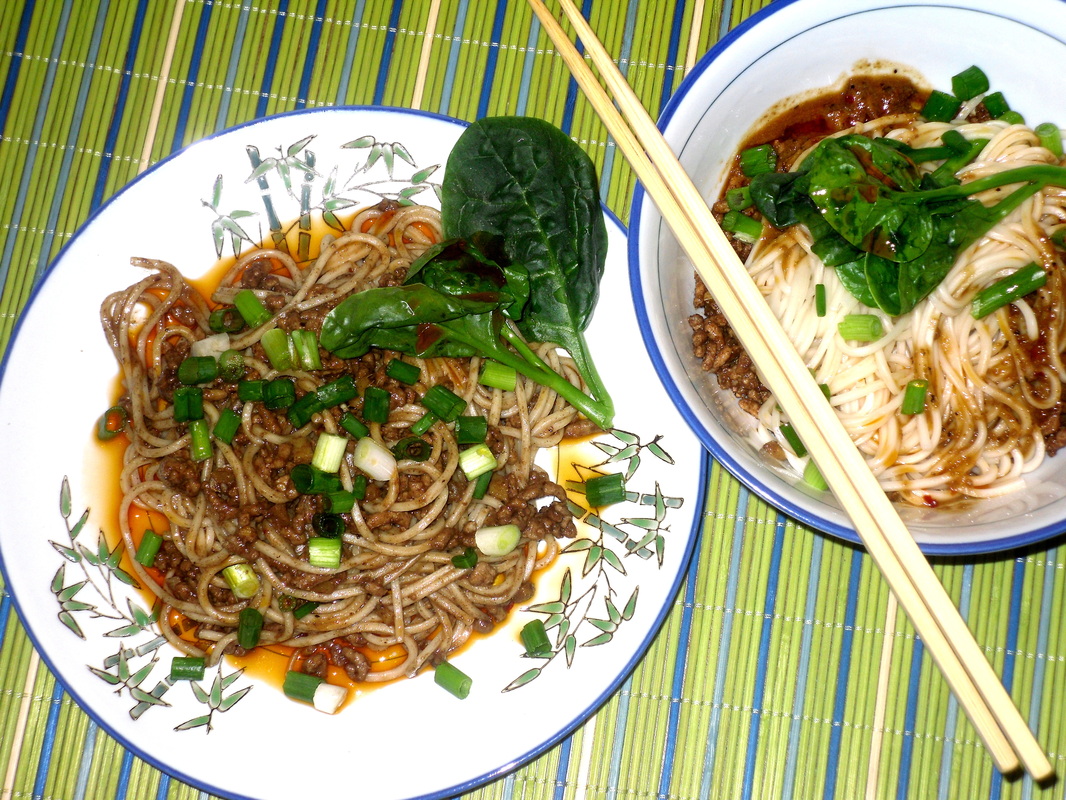
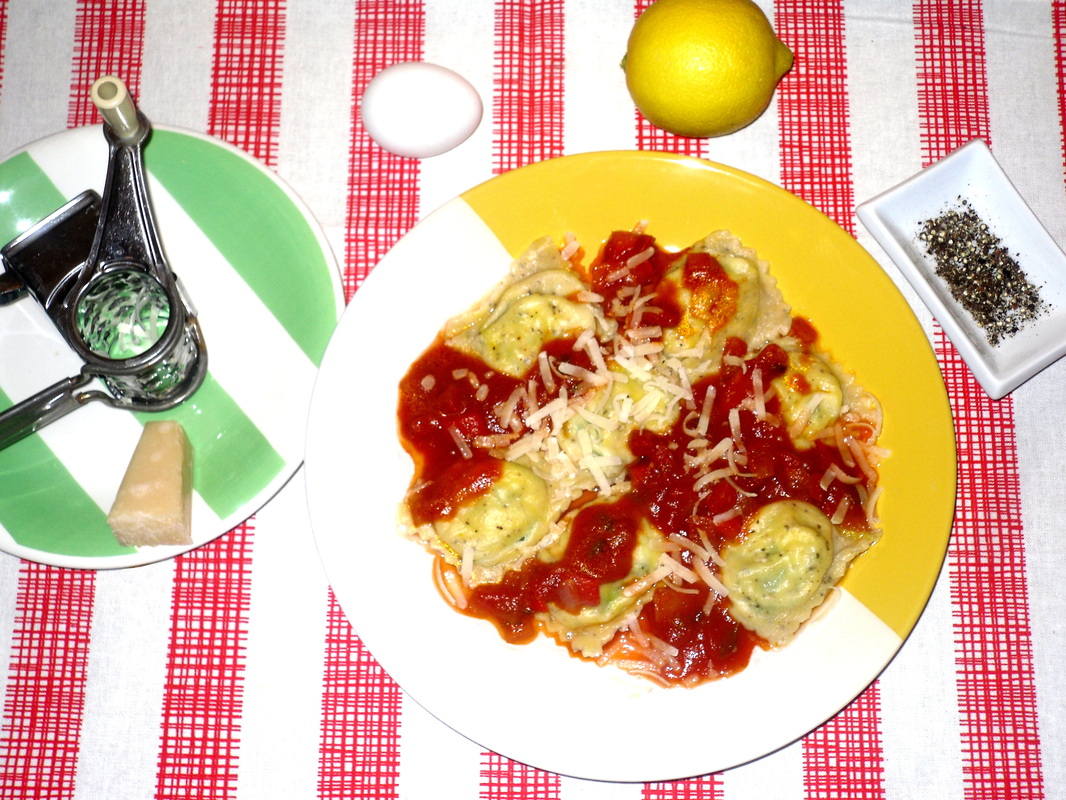
You can’t believe how outrageously good this pasta is, the first time you make it. Have your favorite pasta sauce ready for this true Italian treat. You can also use your own fresh pasta in your favorite Thai, Japanese, or Chinese dishes too. It is also perfect for your own chicken noodle soup as well.
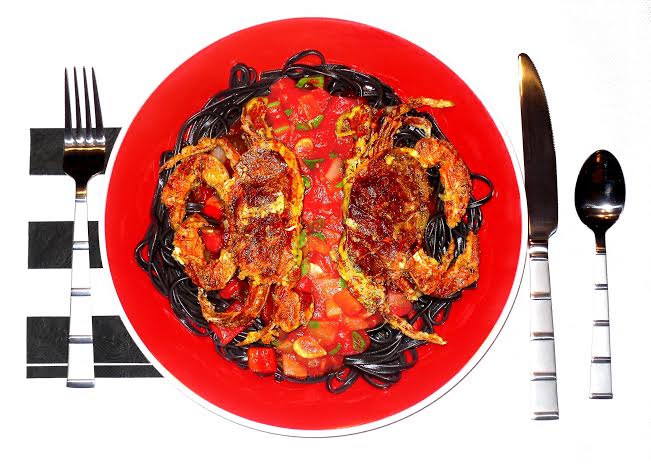
NOTE: Cooking should be colorful! For flavored and colored pastas, use this same recipe, and add the following ingredients to the eggs and oil at the very beginning of the pasta dough mixing process. For Green: one or two tablespoons of steamed spinach puree. For Orange: one or two tablespoons of mashed cooked carrot puree. For Red: one or two tablespoons of tomato paste. For Magenta: one or two tablespoons of cooked or canned beet puree. For Black: one or two tablespoons
Fresh Pasta
—3 1/2 cups of Flour
—5 Eggs
—1/4 cup Olive Oil
—1/8 to 1/4 cup of Water
Mound the flour on the sides of a large bowl, creating an interior bowl of flour in the middle. Crack the five whole eggs into the interior bowl of flour, like a bird’s nest. Pour the olive oil onto the eggs. Using a fork, proceed to beat the five eggs and olive oil, and as you do so, progressively beat in more and more of the flour.
When you either have all of the flour incorporated into the liquid, or when it is too thick to mix with the fork, stop beating. You will have to start kneading the flour by hand to get all of the flour into the mixture. If the mixture is too dense, try adding up to 1/8 a cup of water to it, and see if it holds together.
Remove all of the dough and excess flour from the bowl, and place onto your kitchen counter or a large cutting board. Whichever surface you decide upon, first dust it with more flour. Begin kneading the dough. You need to really press down on it with your weight. Fold it over, and do it again. If it feels too wet, add more flour. If it seems too dry, add a little more water, and continue kneading.
The ideal pasta dough should be kneaded to the point where it no longer sticks to the counter top or the cutting board, or your hands for that matter. Knead the dough at least 10 minutes until it has a uniform consistency, and becomes elastic. By elastic, I mean that it should get to the point where if you squeeze it with your hands, it springs back part of the way towards you.
NOTE: The kneading process sounds tedious, but since this is a rock & roll collection of recipes, put on one of your favorite upbeat albums, and knead to the music! The ten minutes will pass in no time!
As you go through this process, you are going to feel the dough changing from a dull ball of flour, into a springy pasta dough. When it is very elastic, roll the dough into an evenly proportioned log shape, and with a knife, cut the dough into four pieces. Take each of the pieces, and wrap them in plastic wrap, and place them in the refrigerator for 20 minutes.
After the dough has sat and cooled off for 20 minutes, remove it from the refrigerator and unwrap one of the quarters of dough. This is the ideal size to work with.
If the dough is at its perfect state of elasticity, it should not stick to either your hands or the counter. Powder it with a little bit of extra flour, and by hand, flatten it out into a pancake shape, no wider than your pasta maker machine.
There should be 10 markings or width settings on your pasta machine, Zero to Nine. Set the rollers at “Zero” (0) and while you crank with one hand (unless electric), feed the flattened pasta dough into the rollers. When it is flattened out, fold it in half, and repeat the process. Repeat this five or six times to thoroughly process the dough into a sheet of pasta. Add more flour to it if you need to.
If you are making fettuccini, the thickness that you will ultimately want will be the setting of “Five” (5). Gradually moving the lever from Zero to Five, one number at a time, each time rolling the dough through the machine until it is flattened one number at a time to number “Five” (0). At a certain point, you will want to cut your dough in half of its length for easier handling.
Striving to obtain nice flat ends, you can make any necessary end-cutting or reshaping along the way. Eventually you will have four separate pieces of flattened dough, at the Number Five thickness.
If you are making tagliolini, which are thinner noodles, you need to keep going to number “Seven” (7) on the adjustment scale. Every pasta maker has cutting attachments, and each attachment can require specific adjustments.
Now you are ready to readjust the handle (if a manual pasta machine), and run each of the four pieces of dough through the cutting blades, to form fettuccini. Before all of your dough has been cut, using a butter knife, or a chop stick, neatly lift the finished Fettuccini and carefully place it on wooded or metal drying rods, or metal baker’s drying platforms.
NOTE: When you buy your Pasta Making Machine, chances are that the same store will sell some sort of wooden or metal pasta drying device. They are well worth the money to have in this instance. If you are going to dive into this project and buy a pasta maker, go for the pasta drying rack too, and do it right!
You can do all four of your batches of pasta, one after another, or pause in between batches. The four batches will yield approximately 1 1/2 pounds of uncooked pasta, about enough for six people.
Allow the pasta to dry for one hour before cooking it. To cook it, carefully place it in a pot of rapidly boiling water. Fresh pasta should only take 3 to 4 minutes to boil, and it should be perfectly done.
You can’t believe how outrageously good this pasta is, the first time you make it. Have your favorite pasta sauce ready for this true Italian treat. You can also use your own fresh pasta in your favorite Thai, Japanese, or Chinese dishes too. It is also perfect for your own chicken noodle soup as well.
NOTE: Cooking should be colorful! For flavored and colored pastas, use this same recipe, and add the following ingredients to the eggs and oil at the very beginning of the pasta dough mixing process. For Green: one or two tablespoons of steamed spinach puree. For Orange: one or two tablespoons of mashed cooked carrot puree. For Red: one or two tablespoons of tomato paste. For Magenta: one or two tablespoons of cooked or canned beet puree. For Black: one or two tablespoons