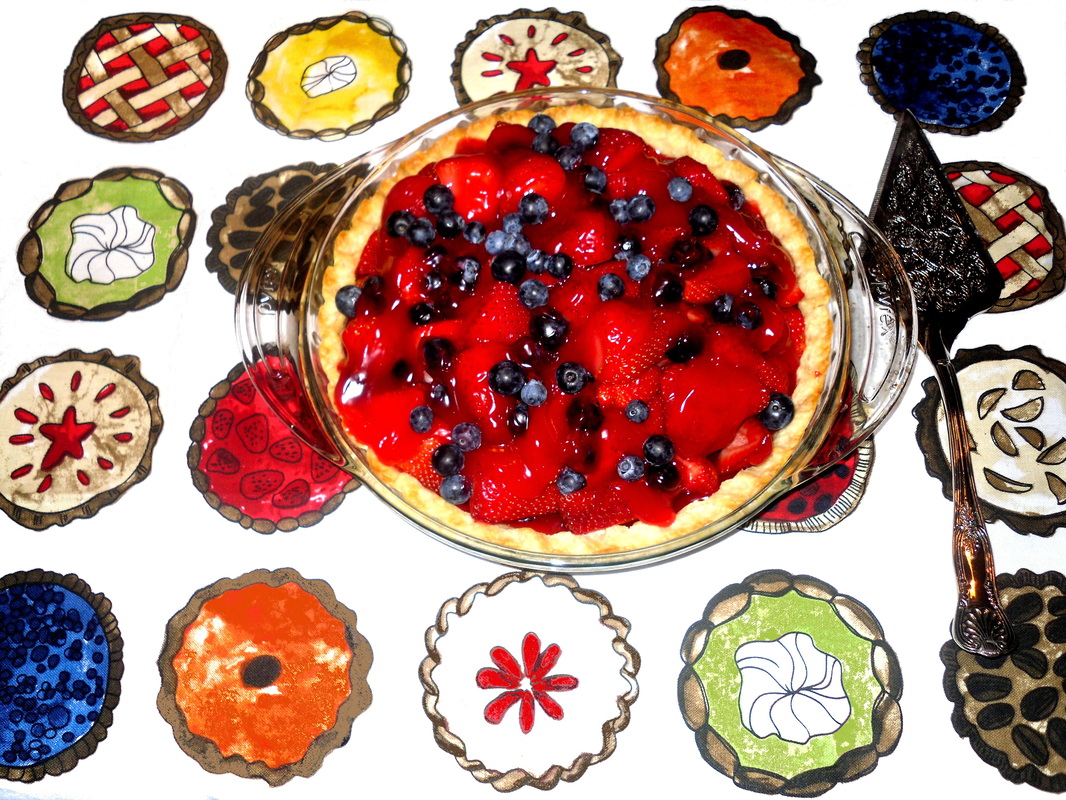
Everyone loves Cherry Pie! The rock group Warrant loved it so much they even scored their big Top Ten hit “Cherry Pie,” out of this dessert. Being from Michigan, I know my cherries. There are Sour Cherries, Bing Cherries, Black Cherries, and even ivory-colored Queen Anne Cherries. Although I made this pie with Black Cherries, in reality this recipe would work with any of the aforementioned fruit! If you are baking this in the prime season for ripe cherries, by all means go with fresh cherries, and pit them yourself. However, for the majority of the year, lurking in the frozen food section of you local grocery store are perfect Black Cherries, pitted and ready for this recipe! Now you should have no excuse to rely on sugar-laden canned pie filling when your Cherry Pie craving strikes.
[RECIPE]
Ingredients:
Black Cherry Pie
– 5 to 6 cups of fresh or frozen pitted Black Cherries (two 12 ounce frozen bags)
– 1 cup sugar
– 5 tablespoons of Corn Starch
– 5 tablespoons Water
– 2 unbaked Pie Crusts
Directions:
You will need enough dough to make two unbaked pie crusts. If you are making your own crust, double the recipe.
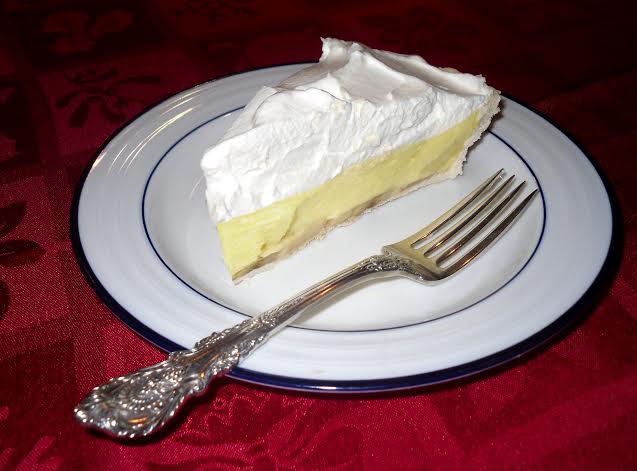
NOTE: For a great do-it-yourself pie crust recipe, see my recipe for French Lemon Pie also in this blog. Or, take the easy way out and buy pre-made fresh or frozen pie crusts. Your call on this one!
If you use pre-made pie crusts, you will need two of them.
Place the rolled-out lower crust in a nine inch pie pan, and make the edges even, all the way up to the lip of the pie pan.
With the second pie crust, lay it out on either a lightly floured cutting board, or the lightly floured kitchen counter.
Preheat the oven to 400 degrees Fahrenheit
Next, prepare the filling. This could not be easier. In a large mixing bowl place the cherries, sugar, corn starch, and water. Stir them until the cherries are coated with a wet and evenly sticky coating.
NOTE: If you pitted these cherries yourself, you are probably already dealing with cherry halves, which is cool. Now this decision is up to you: half pitted cherries, or whole pitted cherries? In this photo, these are whole cherries. Whatever you decide…it is going to work out perfectly!
Pour the sticky sugar coated cherries into the bottom crust of your pie, and evenly distribute. Evenly pour any of the remaining sugar / corn starch syrup evenly onto the cherries.
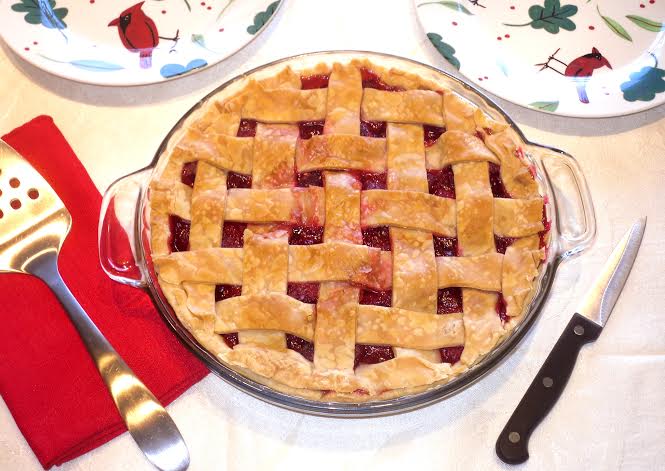
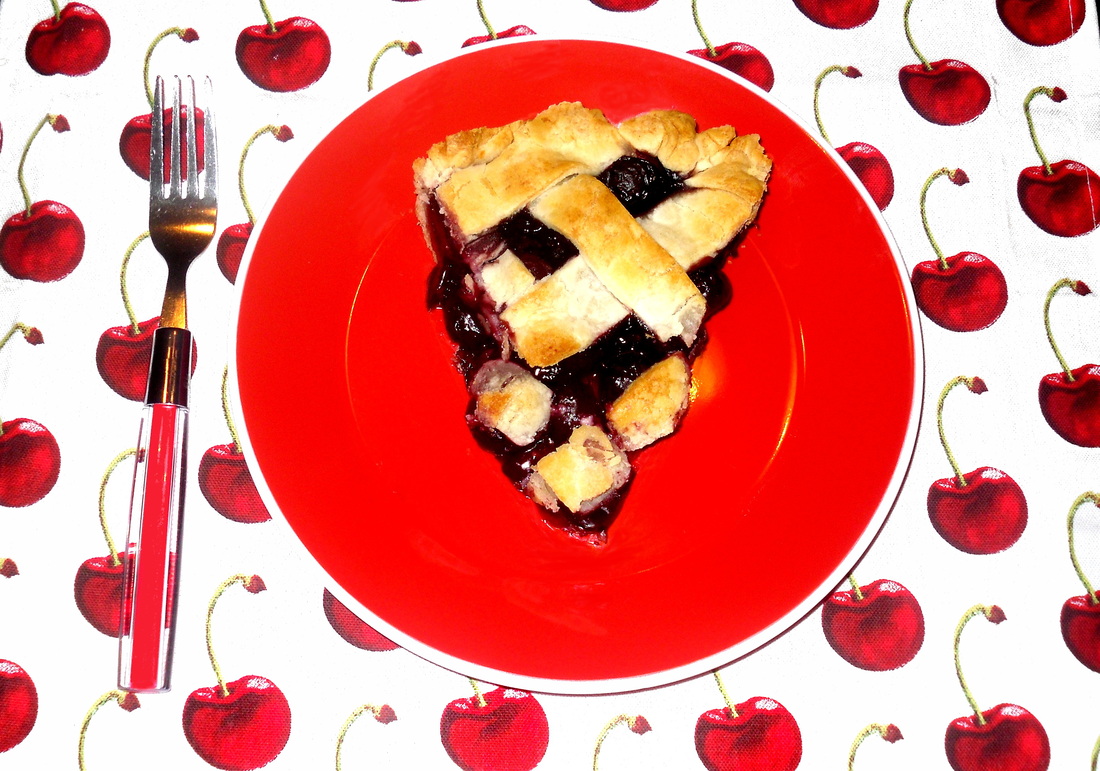
Cutting the rolled out dough of your upper crust into one inch square long strips, arrange the strips in an alternating lattice-work / basket-weave fashion. (See my Raspberry Pie recipe for a whole-pie view of an easy and perfect lattice-work design.) Crimp the edges by hand, creating a zig-zagging design of decorative points.
With a piece of aluminum foil, create an edge guard, to avoid burning the outer edges of your pie shell. The foil should shield the outer inch of your crust, and encircle the pie. It may take a couple of pieces of aluminum foil to accomplish this.
Place the pie in the preheated 400 degree oven, and bake for 50 minutes to one hour. After 50 minutes, you can look at how brown the crust is at this point. You should see sticky bubbling pie filling in the gaps in the lattice-work pie crust, signifying that the sugar and corn starch have mixed and boiled inside the crust. And, the crust should be perfectly golden brown.
After you have visually determined that the pie is done, remove it from the oven. Remove the aluminum foil collar. Cool off the pie for at least an hour after baking, or when cut the pie filling will run out abnormally.
OK…get a spatula and cut into this amazing dessert! Cherry Pie is one of the easiest treats to make, and it is even better when you make it yourself!
[RECIPE]
Ingredients:
Black Cherry Pie
– 5 to 6 cups of fresh or frozen pitted Black Cherries (two 12 ounce frozen bags)
– 1 cup sugar
– 5 tablespoons of Corn Starch
– 5 tablespoons Water
– 2 unbaked Pie Crusts
Directions:
You will need enough dough to make two unbaked pie crusts. If you are making your own crust, double the recipe.
NOTE: For a great do-it-yourself pie crust recipe, see my recipe for French Lemon Pie also in this blog. Or, take the easy way out and buy pre-made fresh or frozen pie crusts. Your call on this one!
If you use pre-made pie crusts, you will need two of them.
Place the rolled-out lower crust in a nine inch pie pan, and make the edges even, all the way up to the lip of the pie pan.
With the second pie crust, lay it out on either a lightly floured cutting board, or the lightly floured kitchen counter.
Preheat the oven to 400 degrees Fahrenheit
Next, prepare the filling. This could not be easier. In a large mixing bowl place the cherries, sugar, corn starch, and water. Stir them until the cherries are coated with a wet and evenly sticky coating.
NOTE: If you pitted these cherries yourself, you are probably already dealing with cherry halves, which is cool. Now this decision is up to you: half pitted cherries, or whole pitted cherries? In this photo, these are whole cherries. Whatever you decide…it is going to work out perfectly!
Pour the sticky sugar coated cherries into the bottom crust of your pie, and evenly distribute. Evenly pour any of the remaining sugar / corn starch syrup evenly onto the cherries.
Cutting the rolled out dough of your upper crust into one inch square long strips, arrange the strips in an alternating lattice-work / basket-weave fashion. (See my Raspberry Pie recipe for a whole-pie view of an easy and perfect lattice-work design.) Crimp the edges by hand, creating a zig-zagging design of decorative points.
With a piece of aluminum foil, create an edge guard, to avoid burning the outer edges of your pie shell. The foil should shield the outer inch of your crust, and encircle the pie. It may take a couple of pieces of aluminum foil to accomplish this.
Place the pie in the preheated 400 degree oven, and bake for 50 minutes to one hour. After 50 minutes, you can look at how brown the crust is at this point. You should see sticky bubbling pie filling in the gaps in the lattice-work pie crust, signifying that the sugar and corn starch have mixed and boiled inside the crust. And, the crust should be perfectly golden brown.
After you have visually determined that the pie is done, remove it from the oven. Remove the aluminum foil collar. Cool off the pie for at least an hour after baking, or when cut the pie filling will run out abnormally.
OK…get a spatula and cut into this amazing dessert! Cherry Pie is one of the easiest treats to make, and it is even better when you make it yourself!